Sorry this week’s post is a bit late. Or rather than last week’s post is late and this week’s is well, early! I wanted to get this research done right for you all. I just recently set this up in my own home so I wanted to show you all how to do it too! This post is how to set up your very own in home photo studio for bellydancers.
Step 1. Backdrop
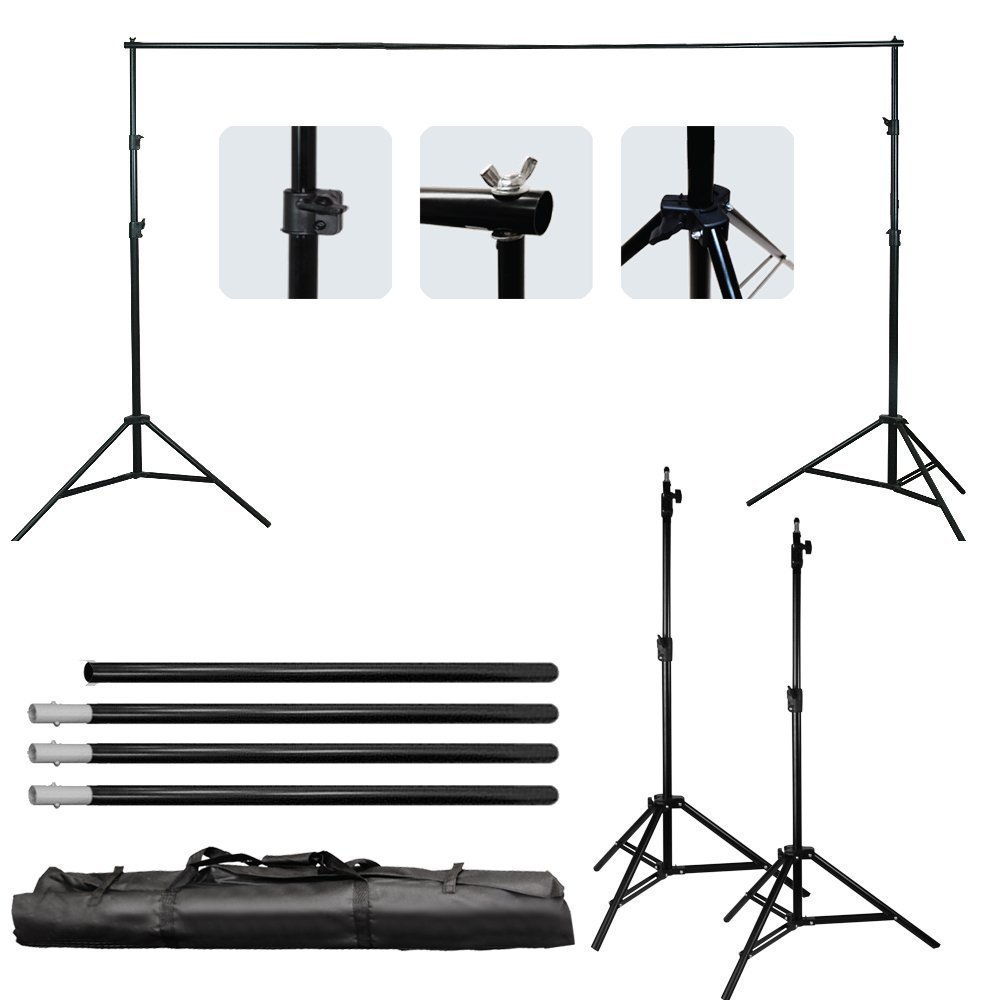
I was able to find a relatively inexpensive backdrop set from amazon. I have it set up in my basement- the ceilings are not super high but they’re not 5ft either. There is plenty of room to lift your arms up before you hit the ceiling and the background was able to reach. And by backdrop, I mean the poles that hold up the background. Make sure when you order, if you want the full set with the muslin, that it’s in the description. Sometimes the picture isn’t all that’s included.
Step 2. Backdrop material
I chose to get the backdrop material from another vendor on amazon but you can get them from the same. I went off of reviews and also the size that I wanted. Mine stops at the carpet but you can get ones that are really long and go all the way down. Make sure you get clips to go with it though! We learned the hard way that you can unroll it right off the tube!
Step 3. Lighting
There are LOADS and I mean LOADS of lighting kit options. You can get super pro with your setup if you like. I decided to start small. I got a 3 piece kit that has great reviews and came with the umbrellas to soften the light. With my setup being in the basement, having good lighting but not necessarily spotlights was key. This is the set that I got:
You can even get the whole kitten caboodle together as well:
Step 4. Camera
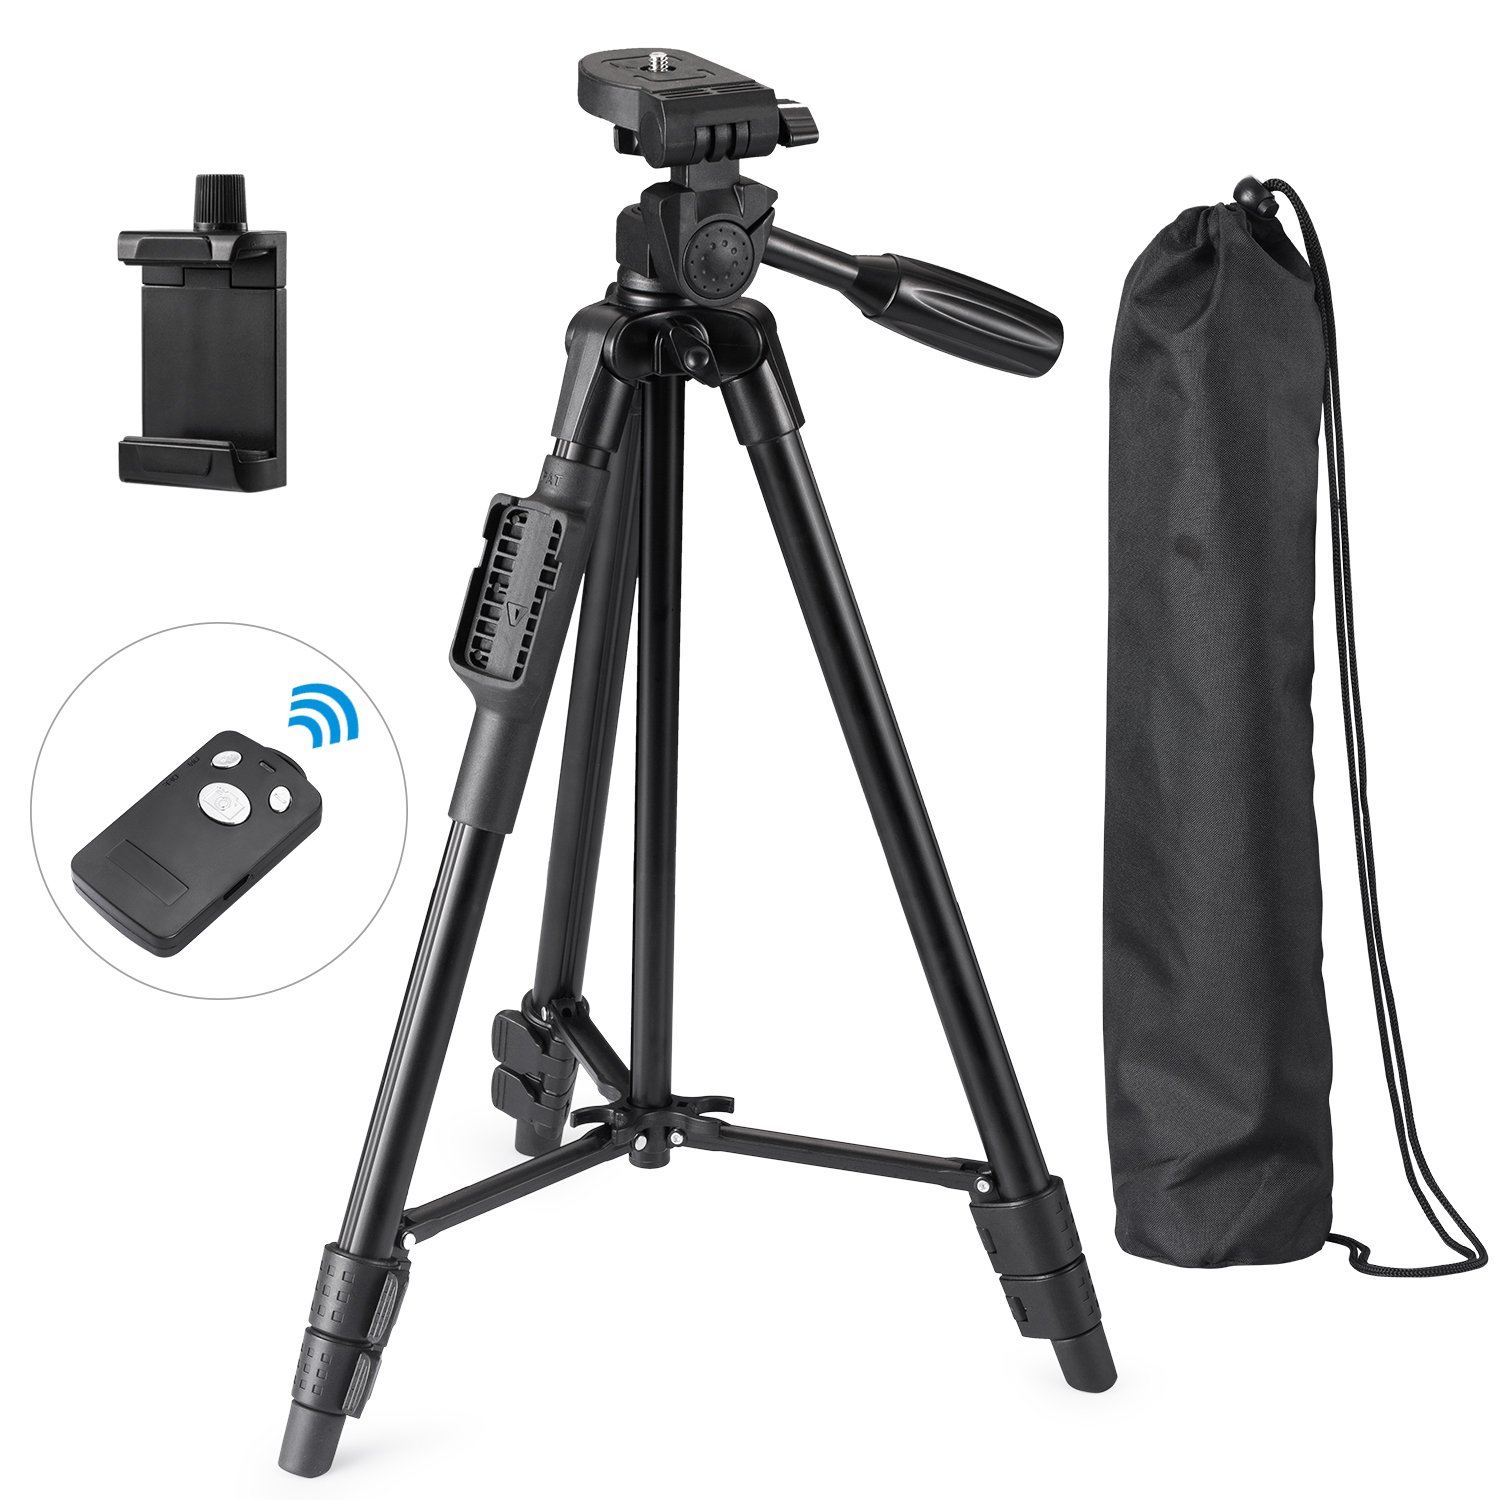
This is last but not least. I am lucky to have a significant other that likes cameras and has a great Nikon for photo taking. But you don’t need a super expensive camera. Most smart phones have great cameras and they do very well with great lighting. Which you have already purchased. If you want to invest in a lens adaptor for your smart phone- feel free! It doesn’t hurt to have that extra something to use. I do suggest that you get a tripod for your phone. Those are also available for sale. This way you can set the timer on it and step away if you don’t have a friend to take the photos for you.
Here is an example of the cell phone tripod:
Well, I hope these tips have helped you and that you are able to go set up your own in-home photo studio! Feel free to ask any questions or make any comments in the fields below. I love hearing from you all!


What is the device in the upper left of the photo with the tripod? It looks like it holds a cell phone. Is there a socket on the bottom to attach it to the tripod screw? Thanks!
Hi there! That is the holder for your phone. Similar to the ones that you can install in your vehicle on the dash. It has a spring that adjusts to the size of your phone and the bottom attaches to the tripod.